Din Kundvagn
Inga varor i kundvagnen


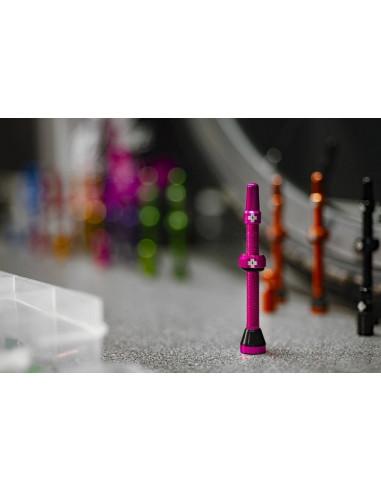
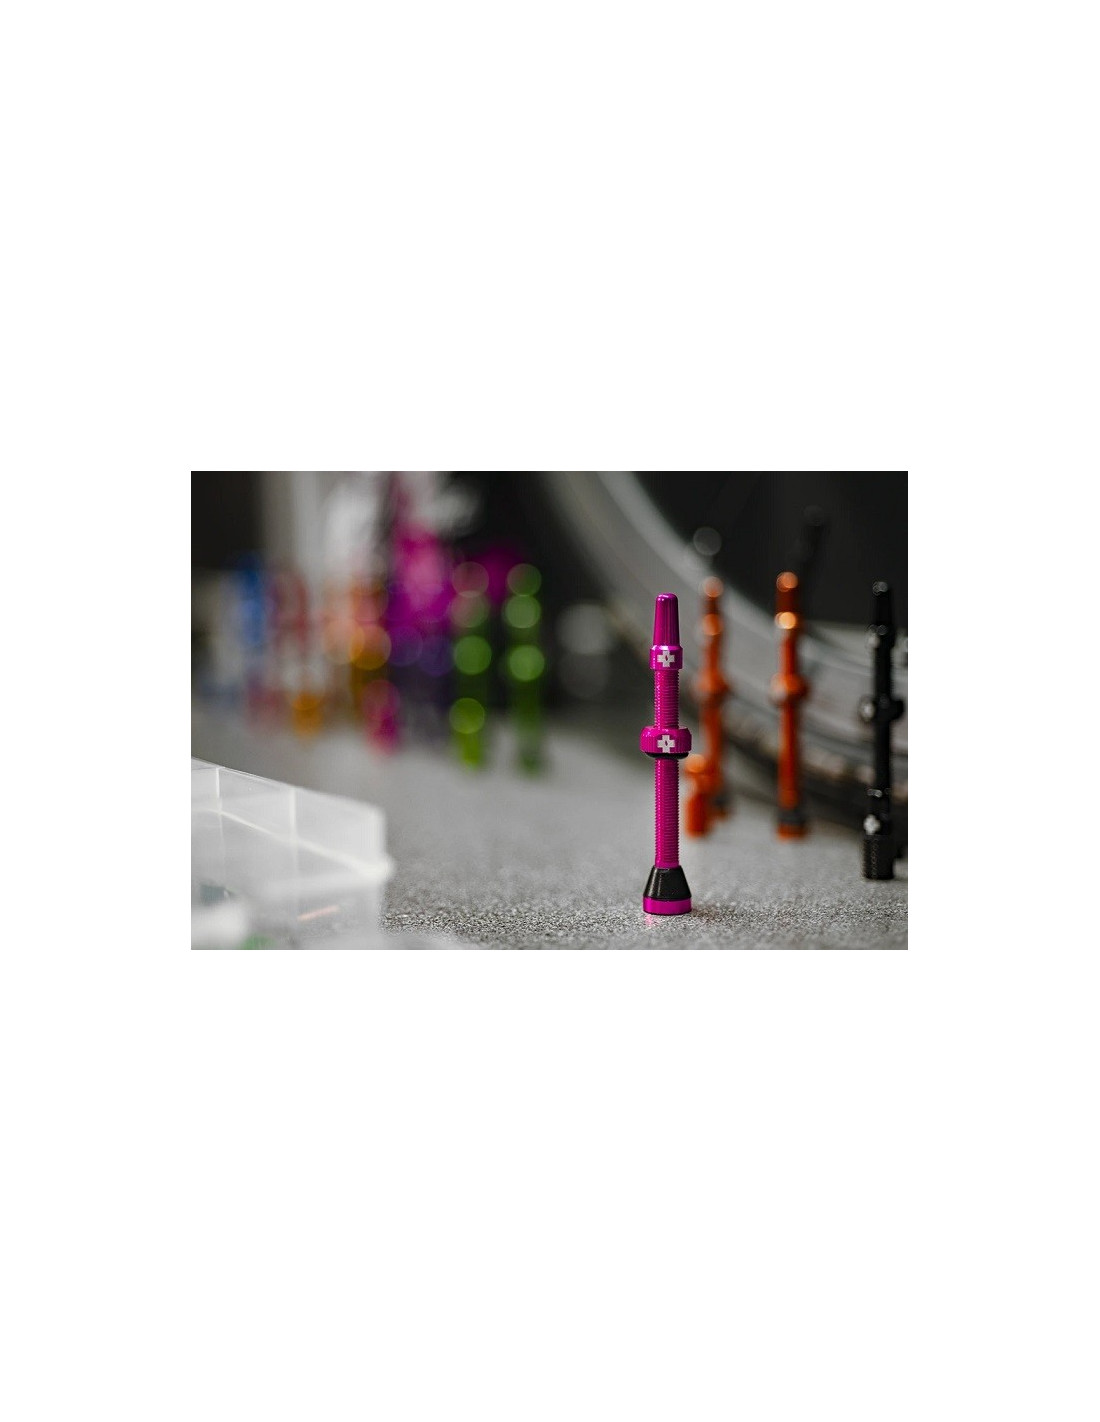
Ventilset MUC-OFF Tubeless Valve Kit 44 mm
Finns med andra alternativ!
359,00 kr
Inkl. moms
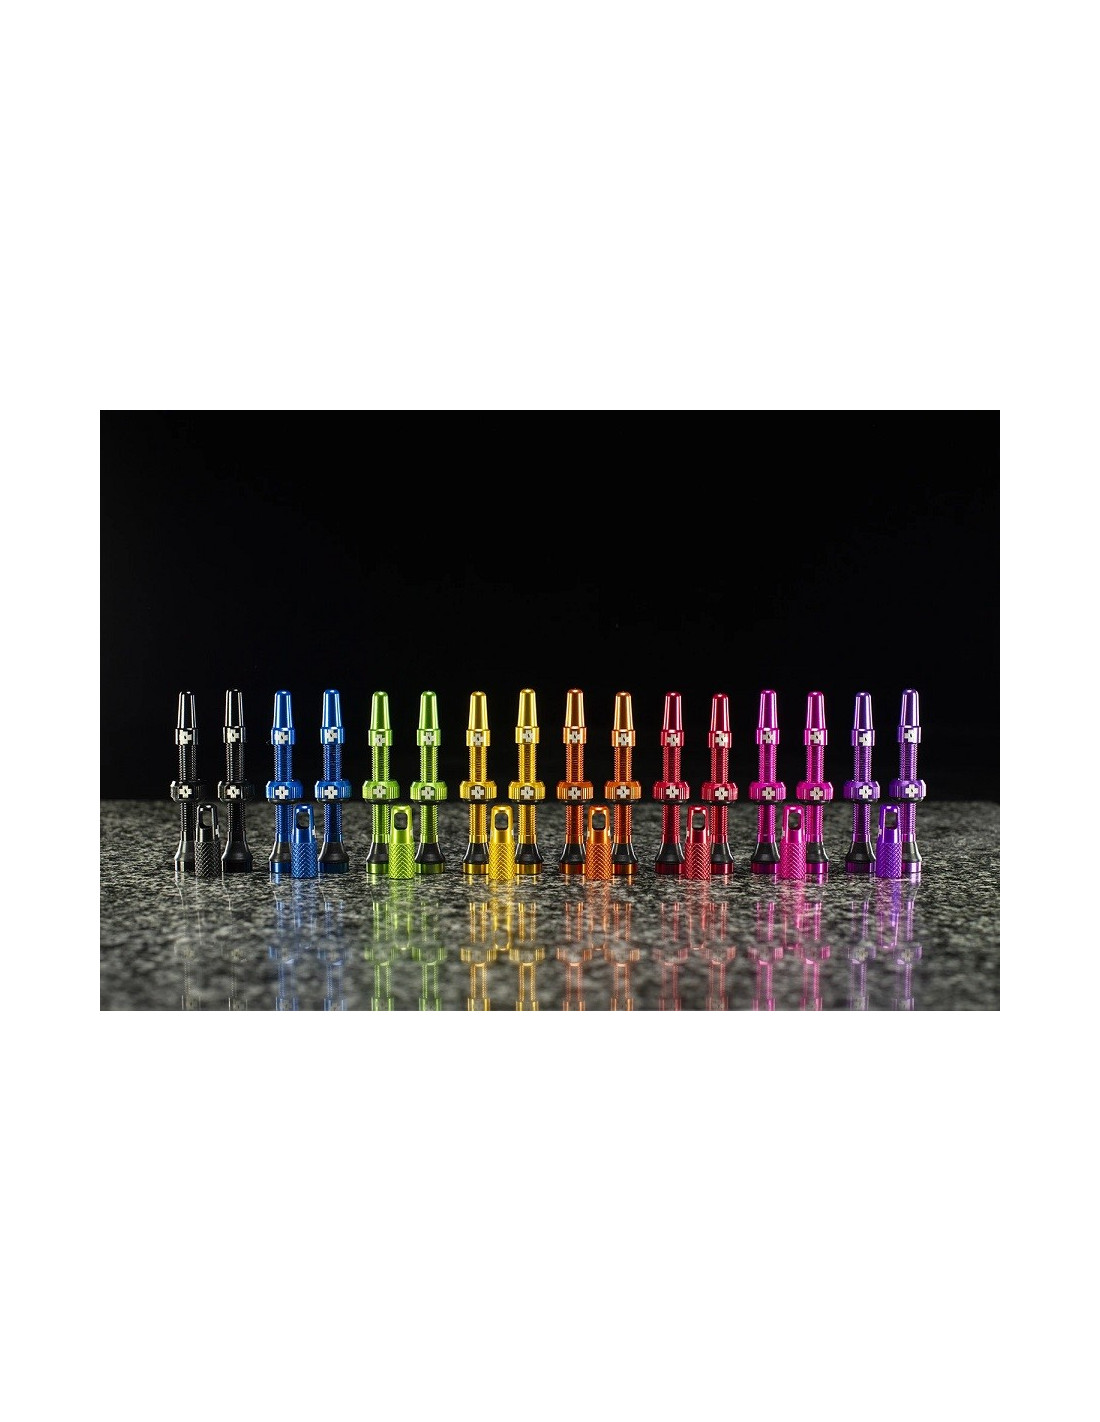
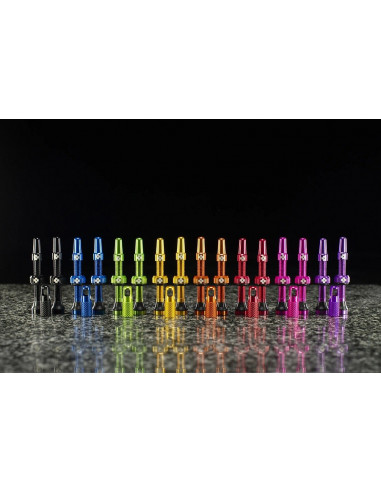
A COLOUR FOR EVERY STYLE.
We know how frustrating it is to have a leaky tubeless valve that just doesn’t seal!
So we set about designing and making our own premium tubeless valves to solve the hassle of finding your tyre flat every time you go to ride.
For too long riders have had to settle for tubeless valves that are functional without being beautiful but we have raced to the rescue to perfectly match form with function.
Supplied with 3 sets of different shaped rubber inserts to fit a variety of rim shapes and create the perfect value to rim seal.
Available in 8 colours & two sizes - 44mm and 60mm - for both Road and MTB.
- 6061 Aluminium machined stem
- 6061 Aluminium machined cap
- 4mm machined Allen Key slot for easy installation / removal
- Includes Valve Core Removal Tool (integrated into spare alloy cap)
- Assortment of 10 eye popping colours
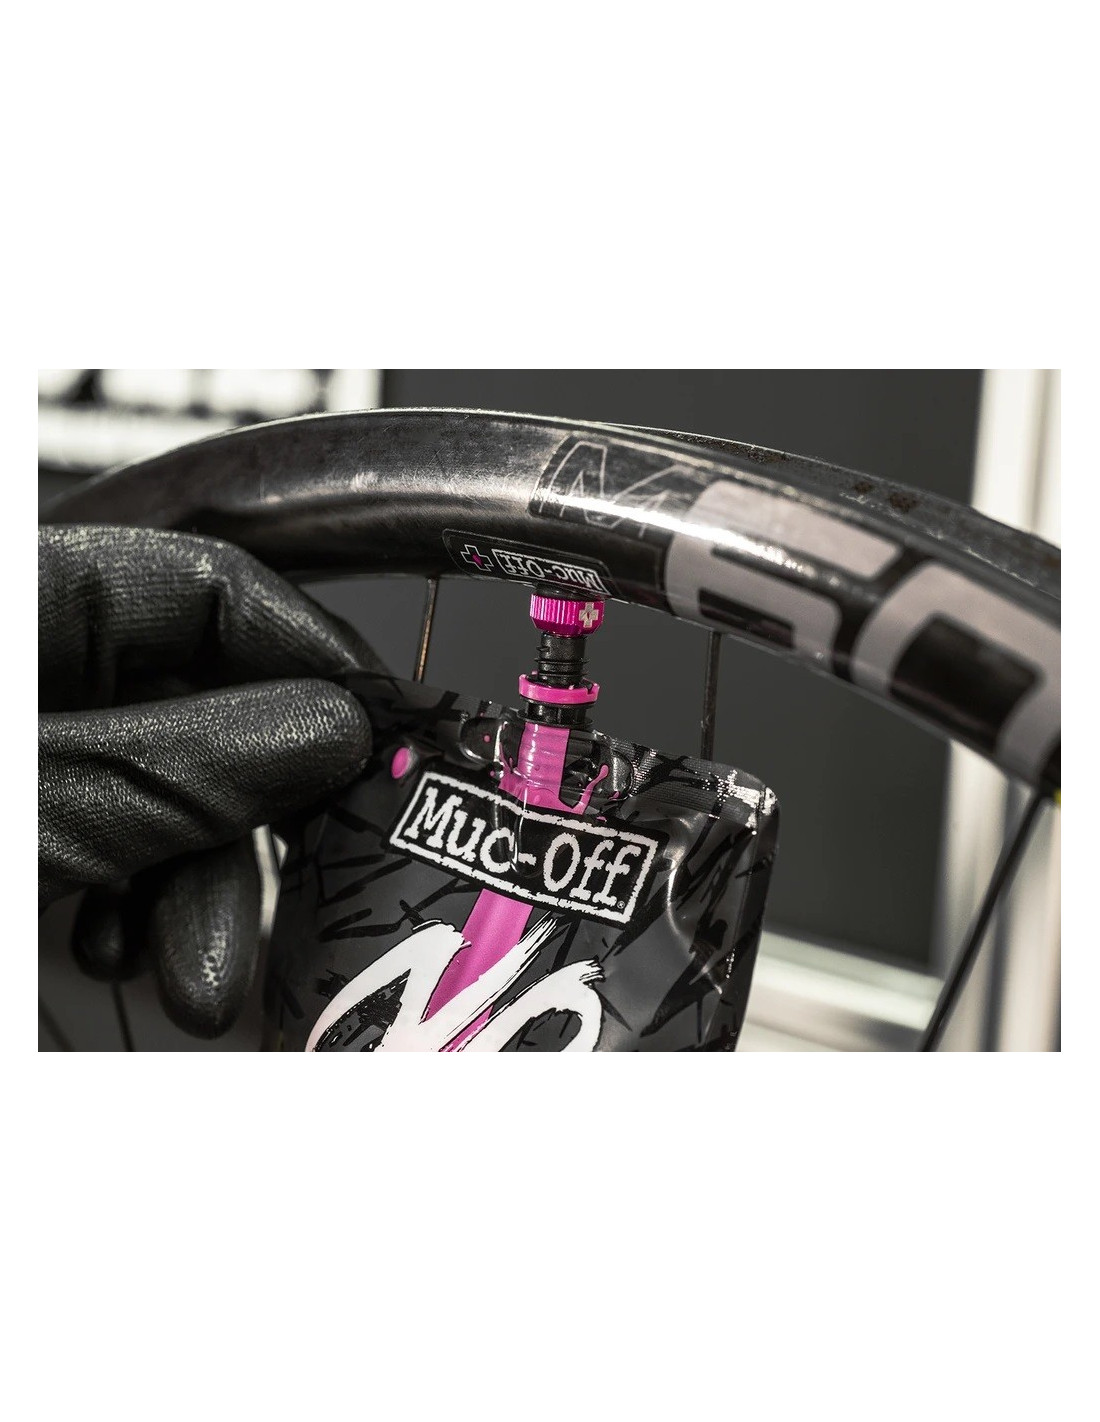
Step 1-Muc-Off Tubeless valves will work with most tubeless rims. If you are unsure, please refer to your rim manufacturer's instructions to check which tubeless valves will work for your rims.
Step 2 – Firstly, remove the valve cap, locking ring and o-ring from the valve stem.
Step 3 - Then choose the correct rubber base for your rim type. Rims with a curved rim section will use the circular rubber base. Rims with a square rim section will use the square rubber base. Slot this on down to the bottom of the valve stem. (If you find your rim has a larger valve hole and the smaller circular fitment is too loose, use the larger circular fitment to plug the hole)
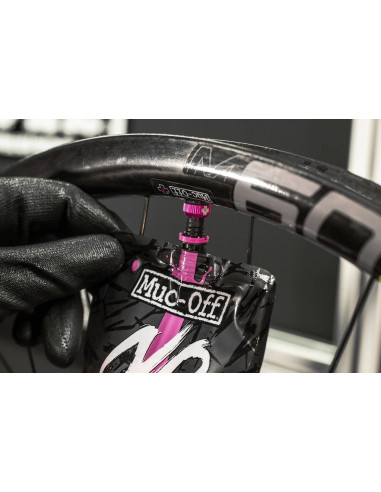
Step 3 – Now push the valve stem into the hole in the rim and push it right the way though. Then place the rubber 0-ring onto the valve stem and slide it all the way down until it meets the rim.
Step 4 – Screw the locking ring onto the valve stem and tighten down above the o-ring. This sandwiches between the locking ring and the rim. Push firmly down on the valve base inside the rim as you tighten the locking ring. Keep pushing until the locking rick is hand tight and the rubber o-ring squashes out. This way you know you've created a good air tight seal.
Step 5 – TIP - don't over tighten as this can cause leaking. Finish by screwing on your preferred valve cap.
Step 6- Use the valve core removal tool (integrated into spare alloy cap) to remove the core and fill with no puncture hassle tubeless sealant and inflate! Job Done
1052
0 objekt
5037835105209
No reviews
Tap to zoom